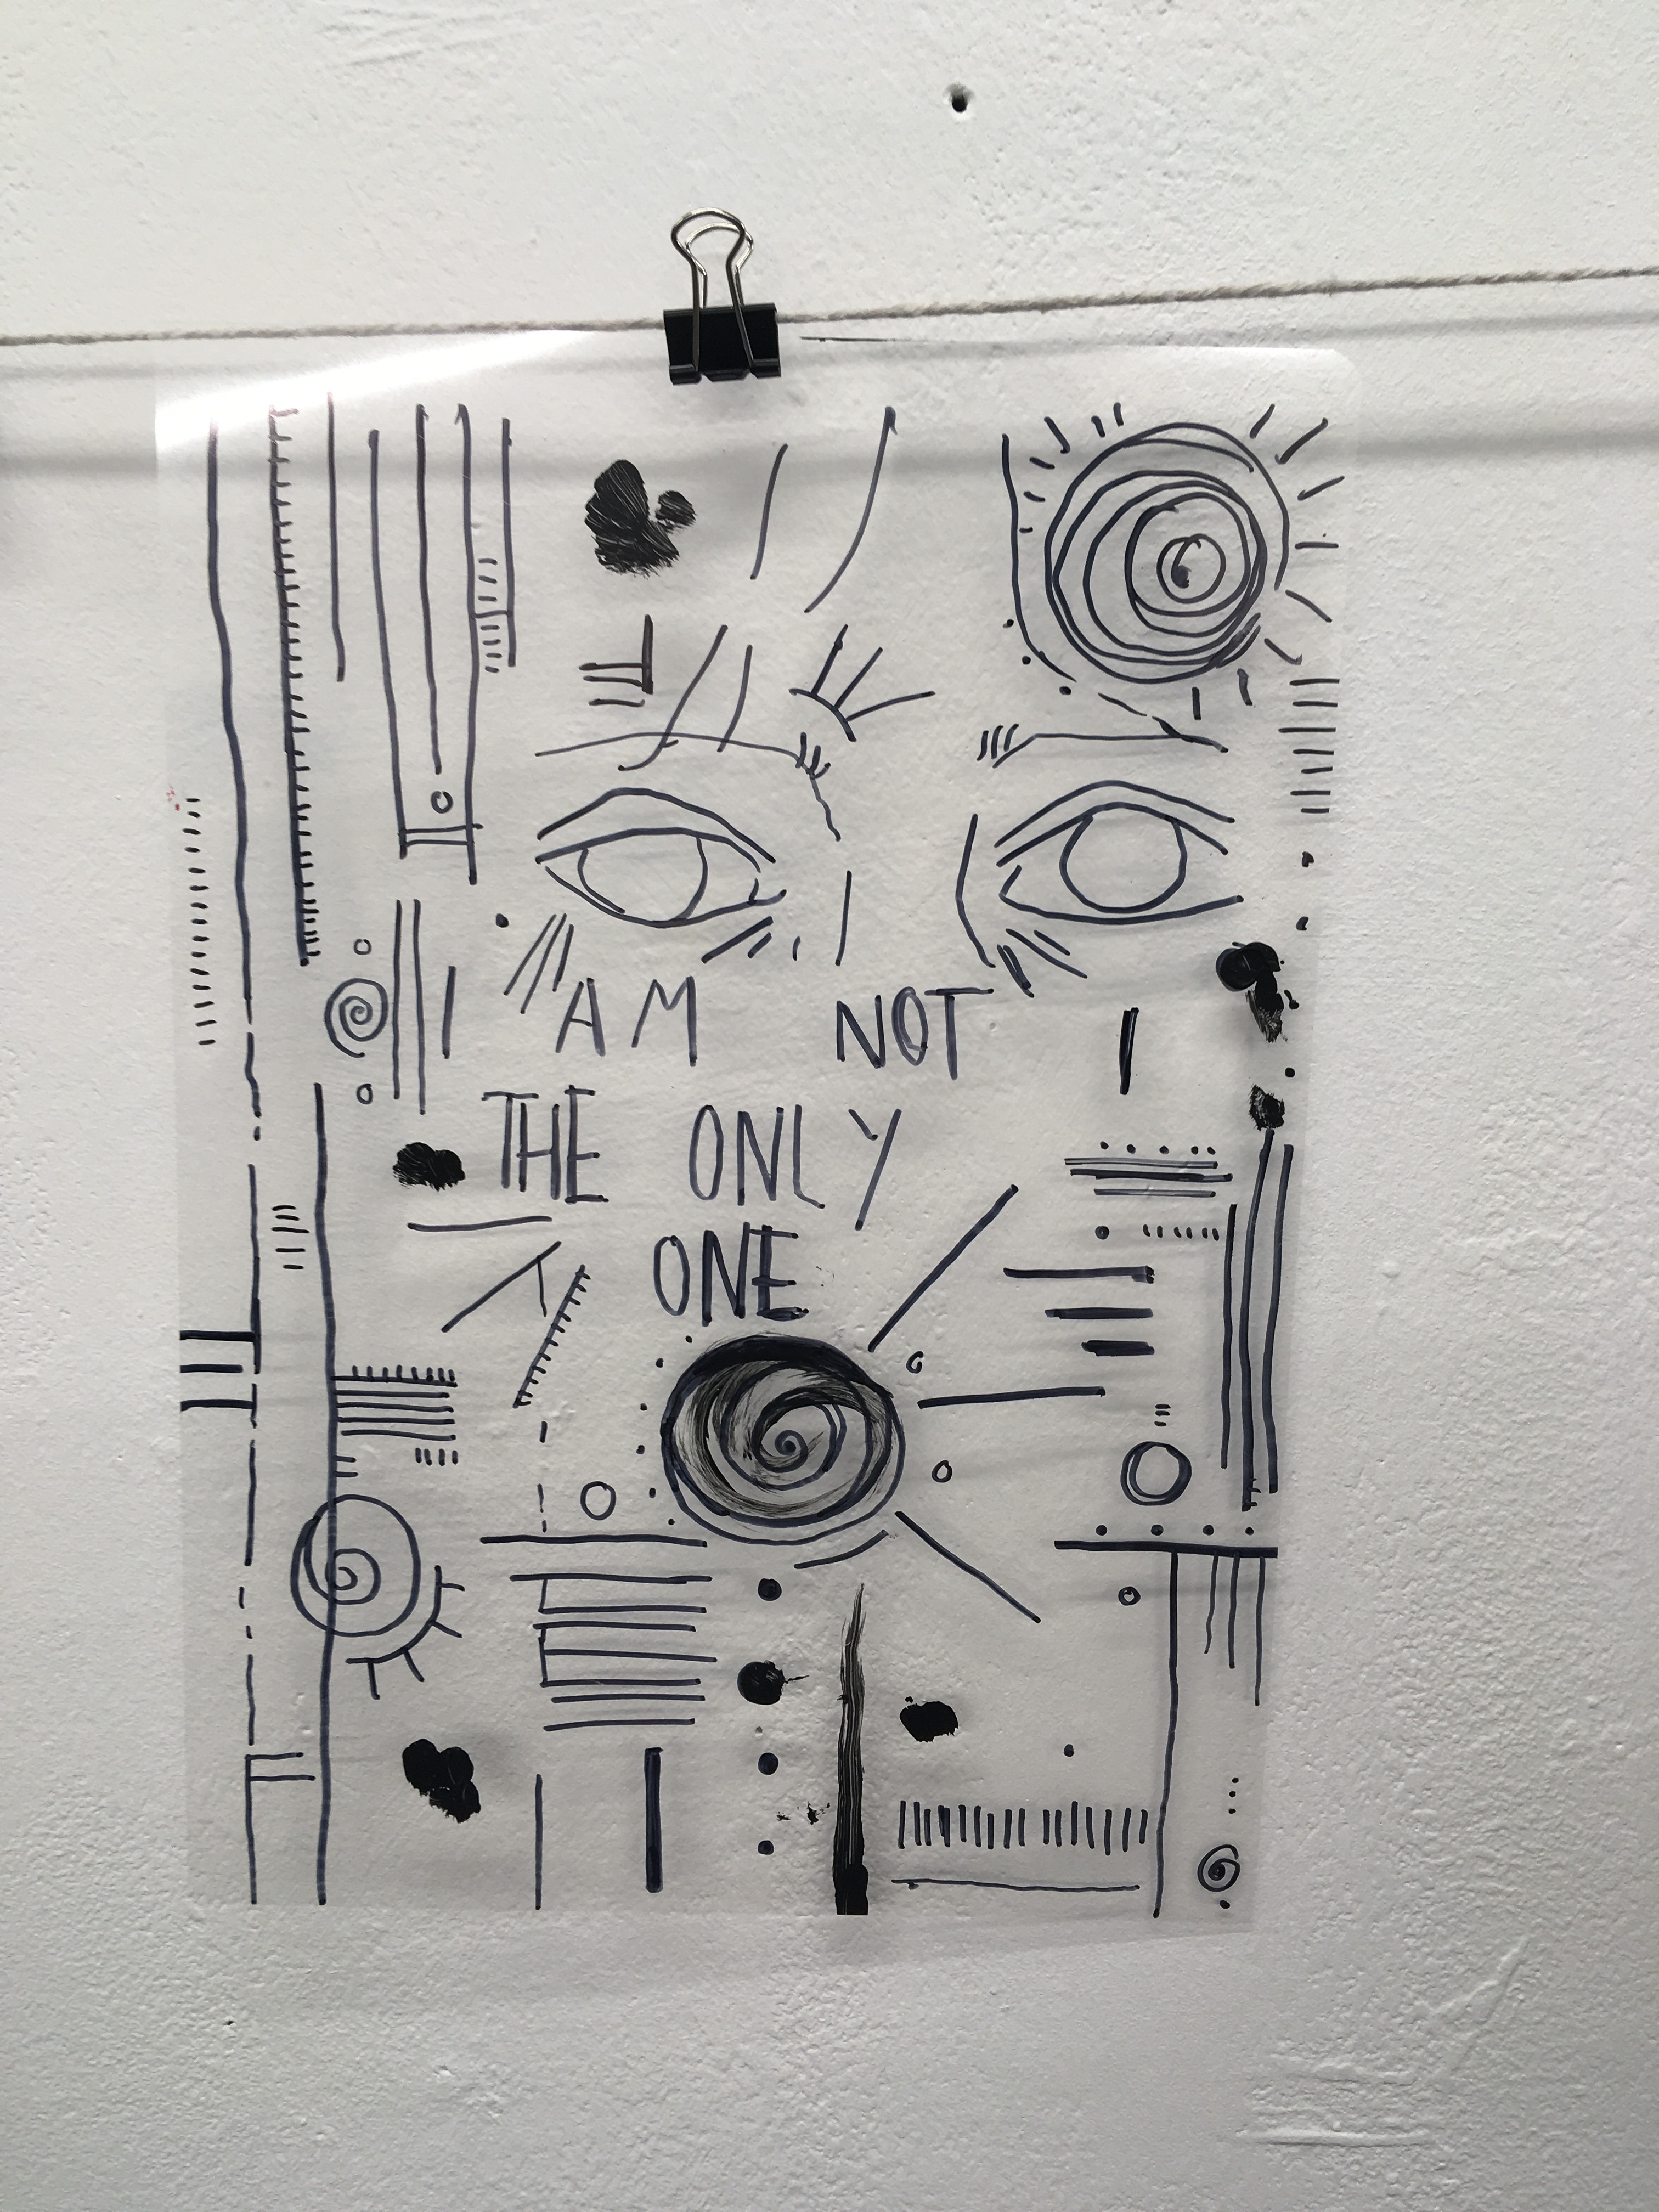
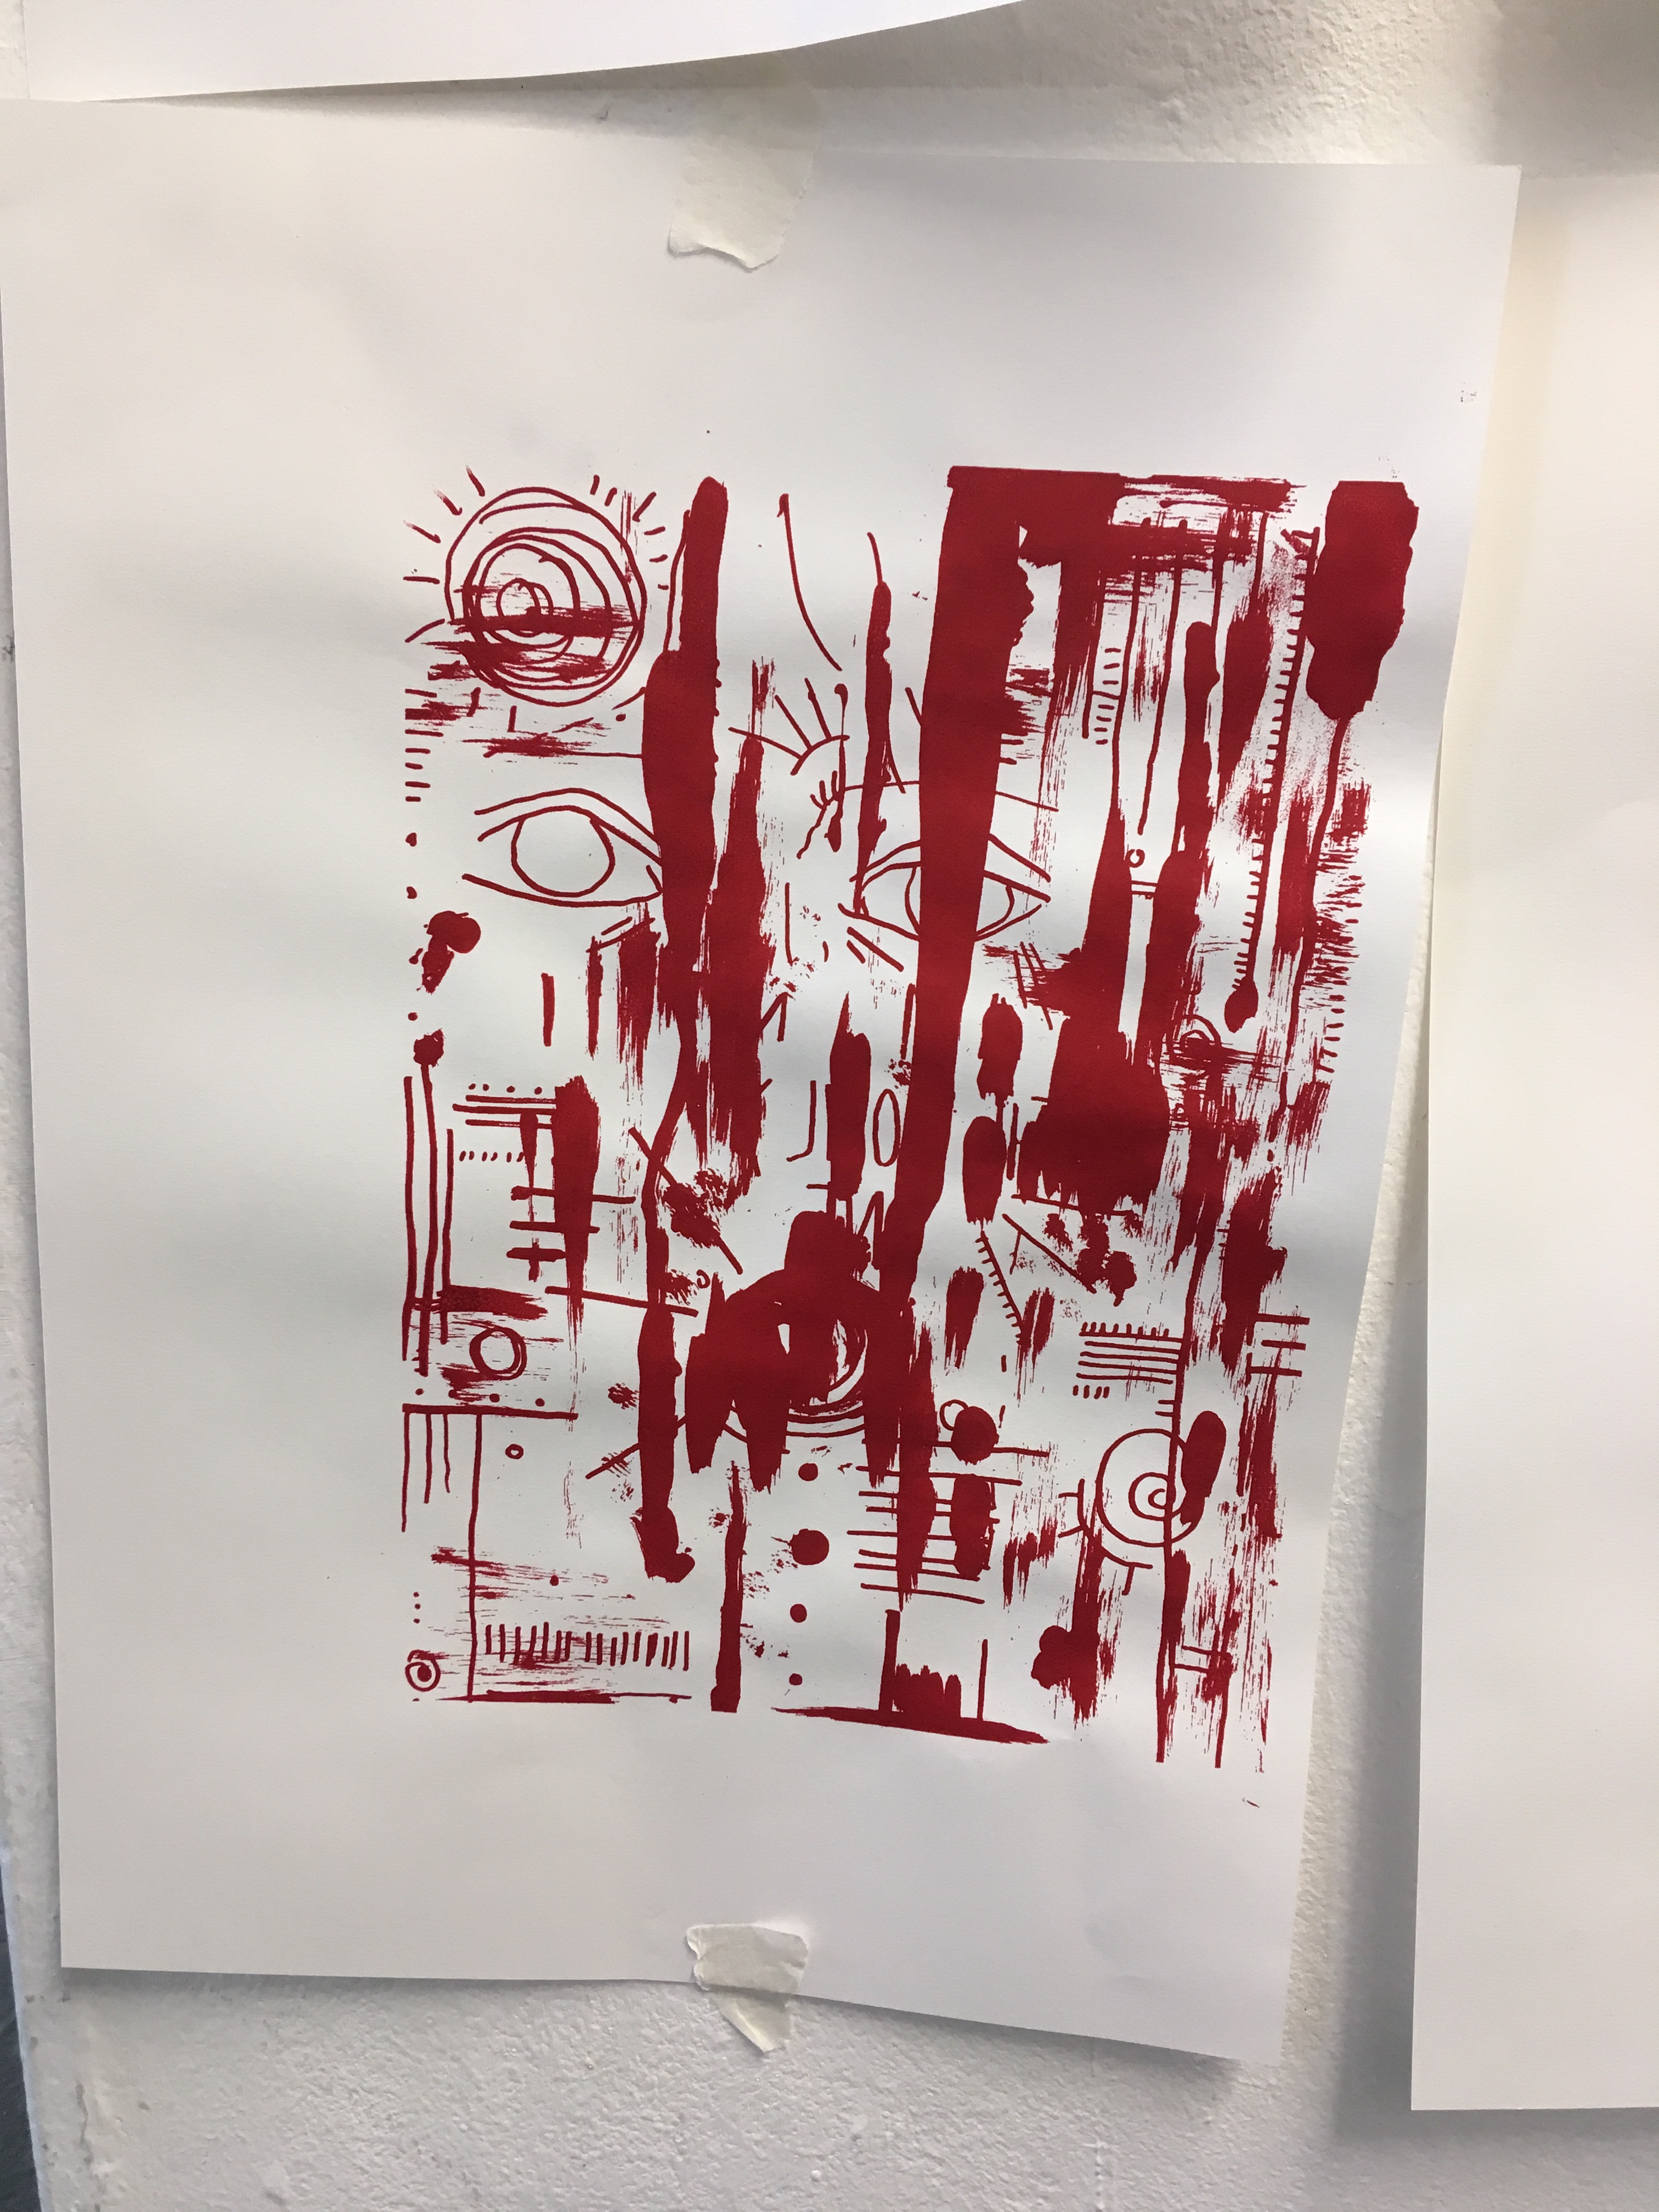
The first step of the screen printing process was to draw an A4 design onto acetate which related to my work from last week. I made the following initial designs.
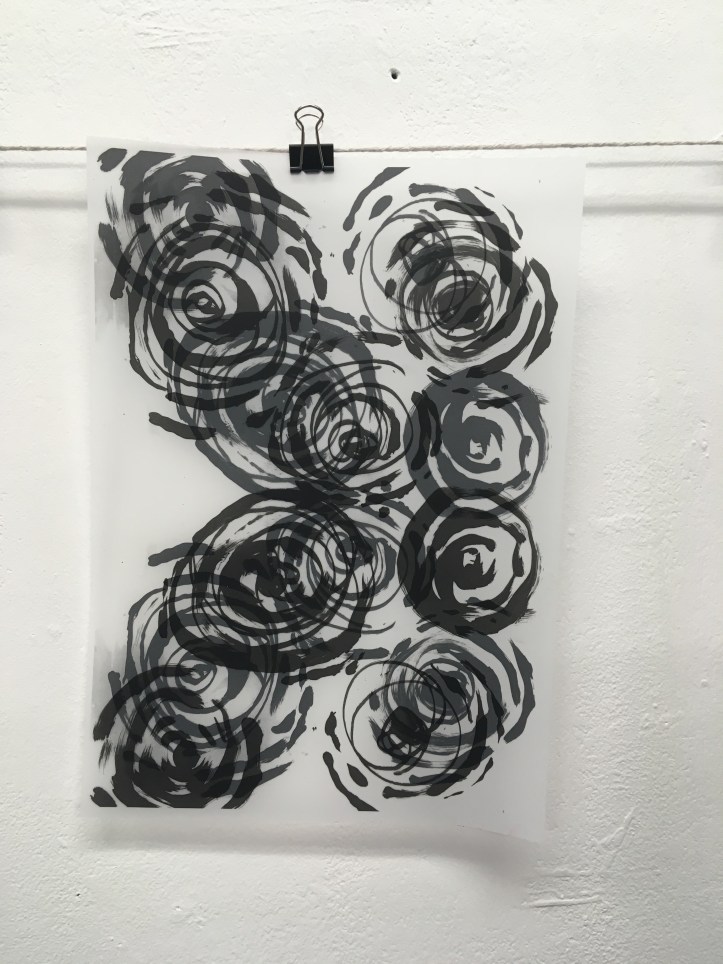
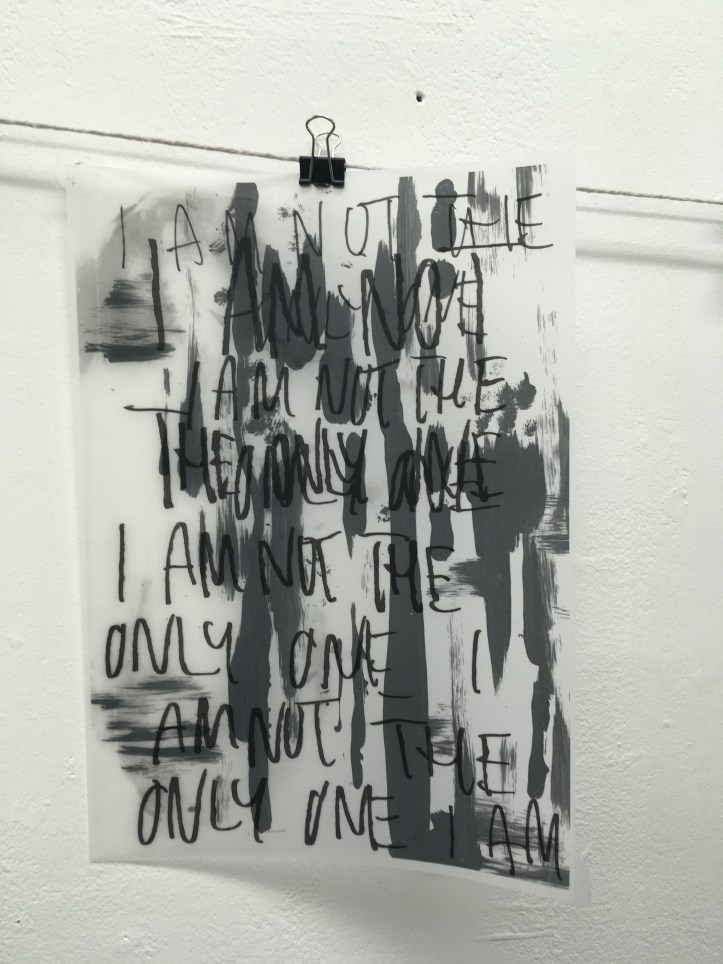
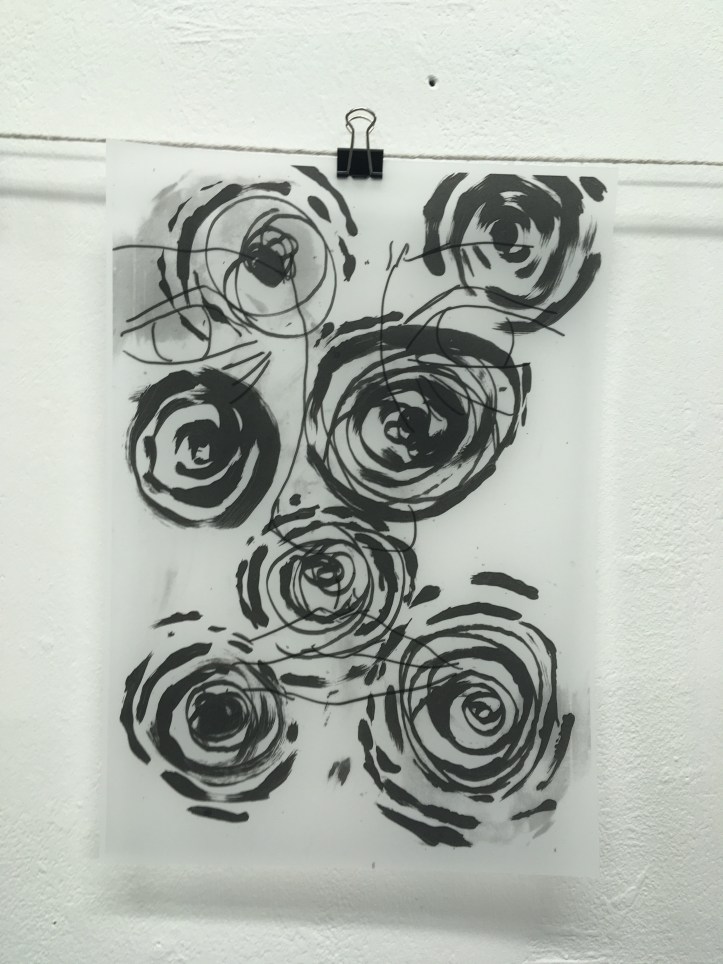
To experiment with layering, I used the photocopier to scan and overlap the pieces. This created more designs to choose from for my screen print. The following gallery shows these outcomes.

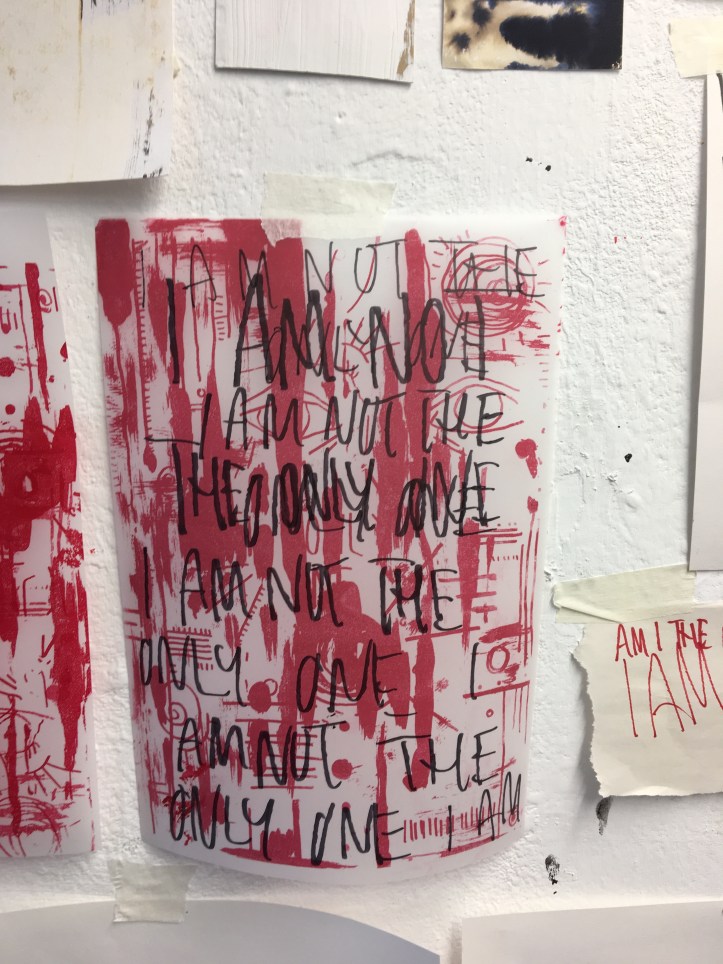
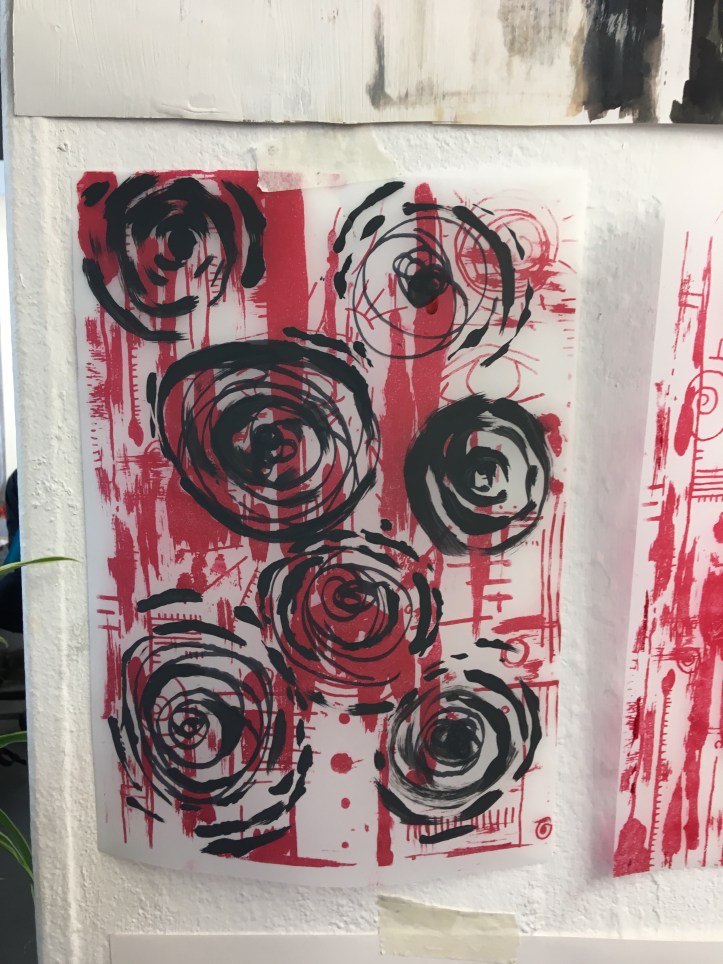

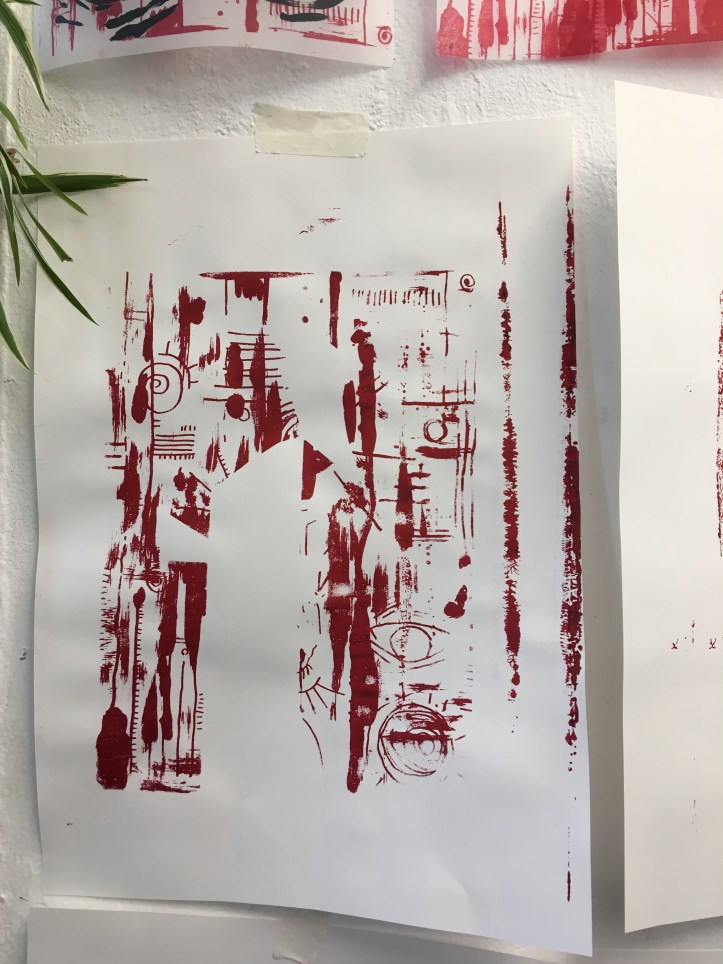
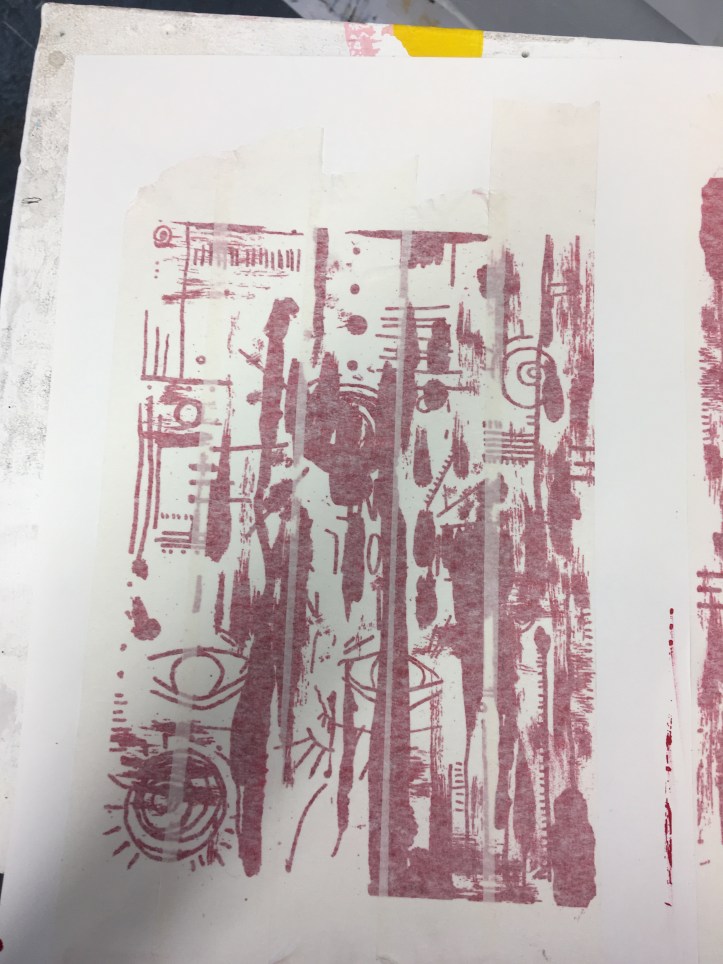
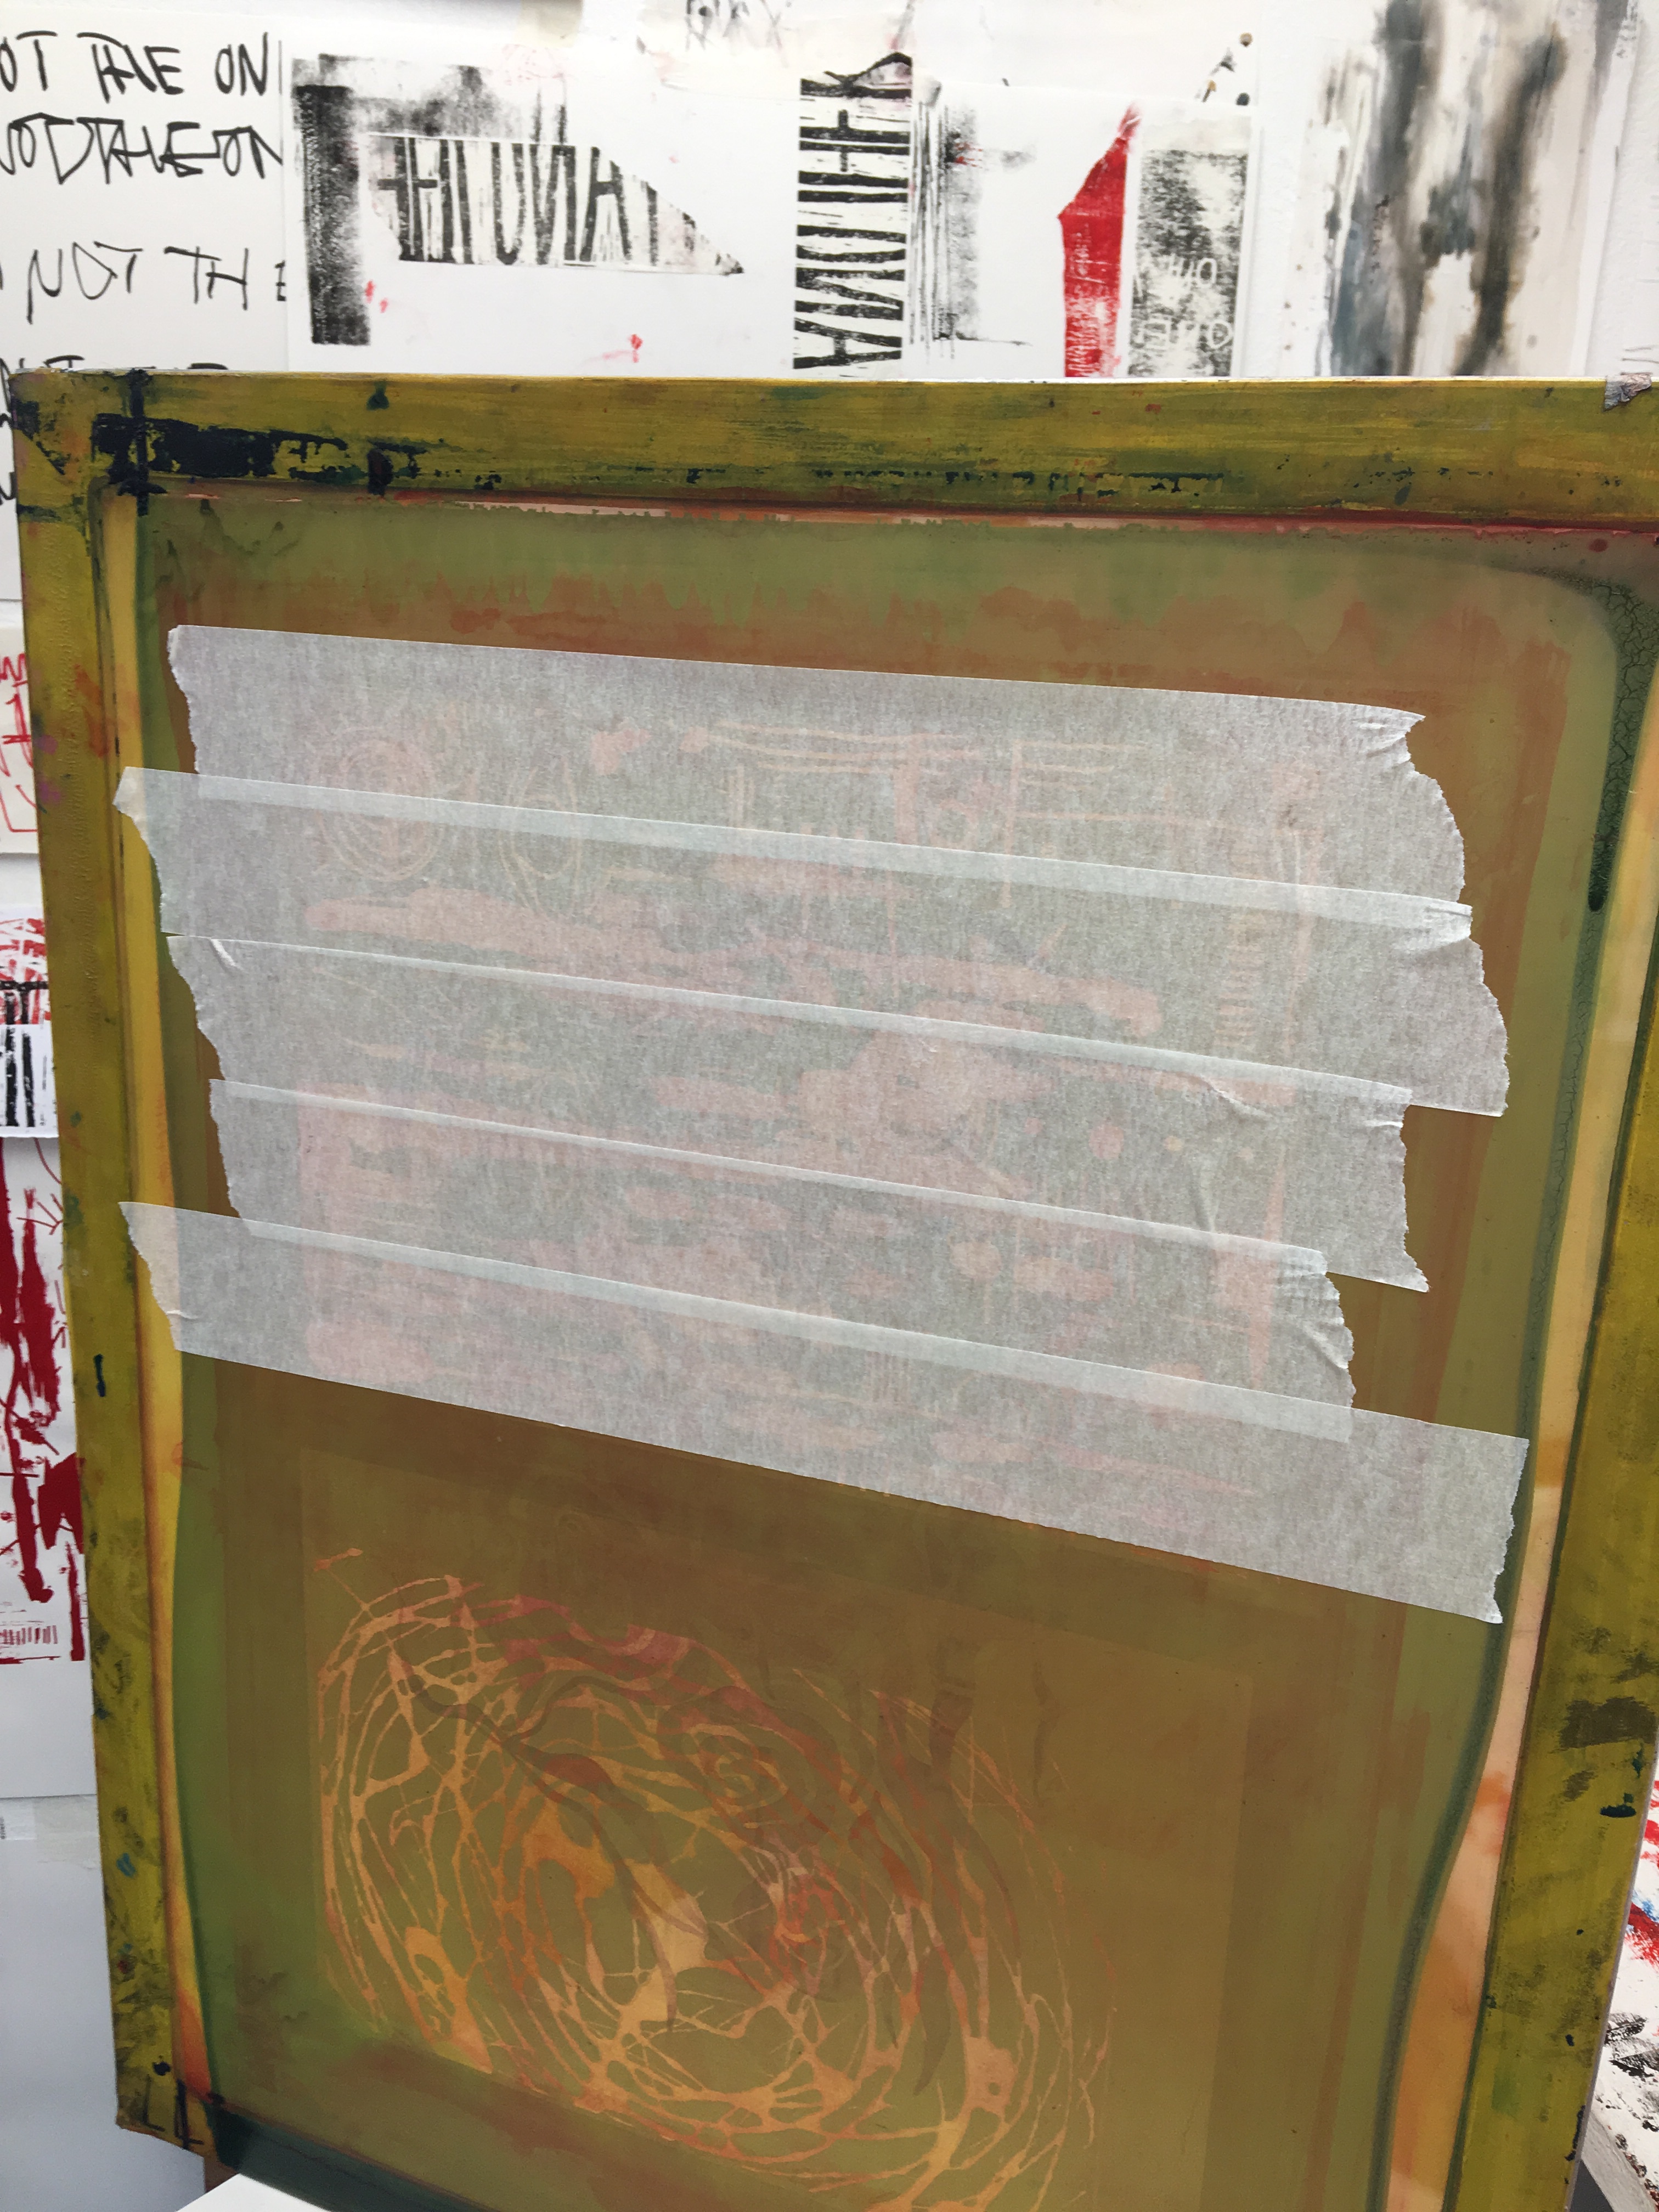
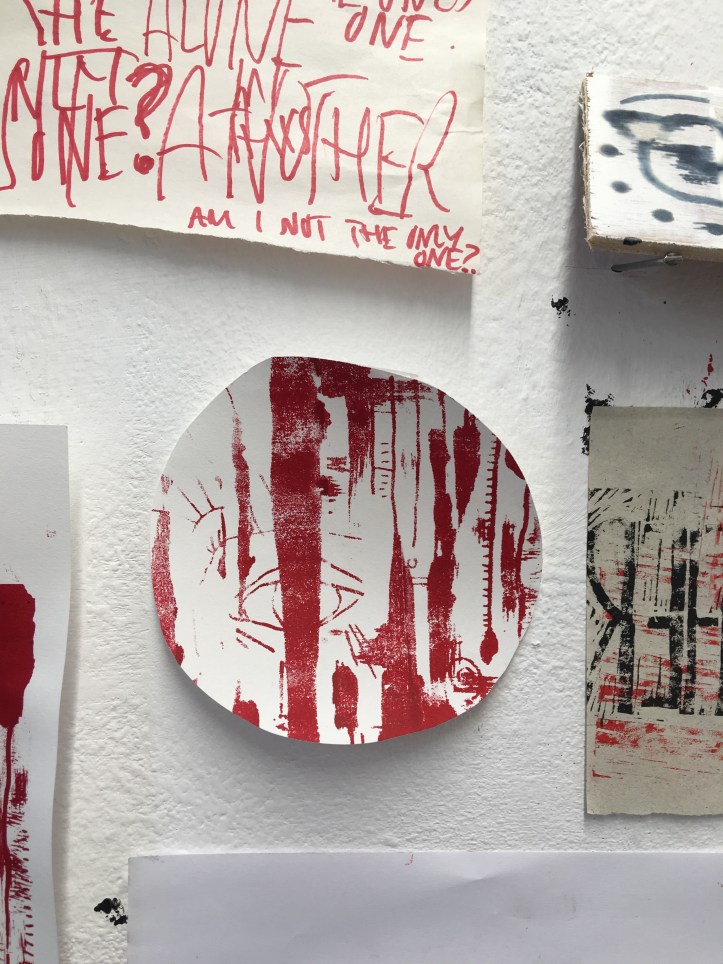
Screen printing on top of acetate designs.^
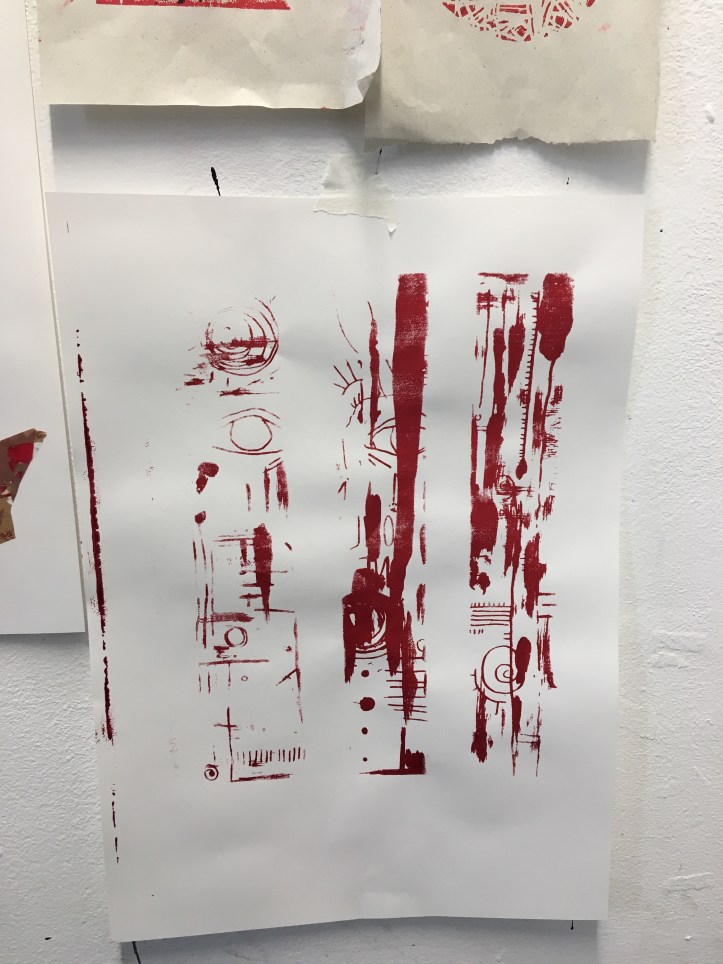
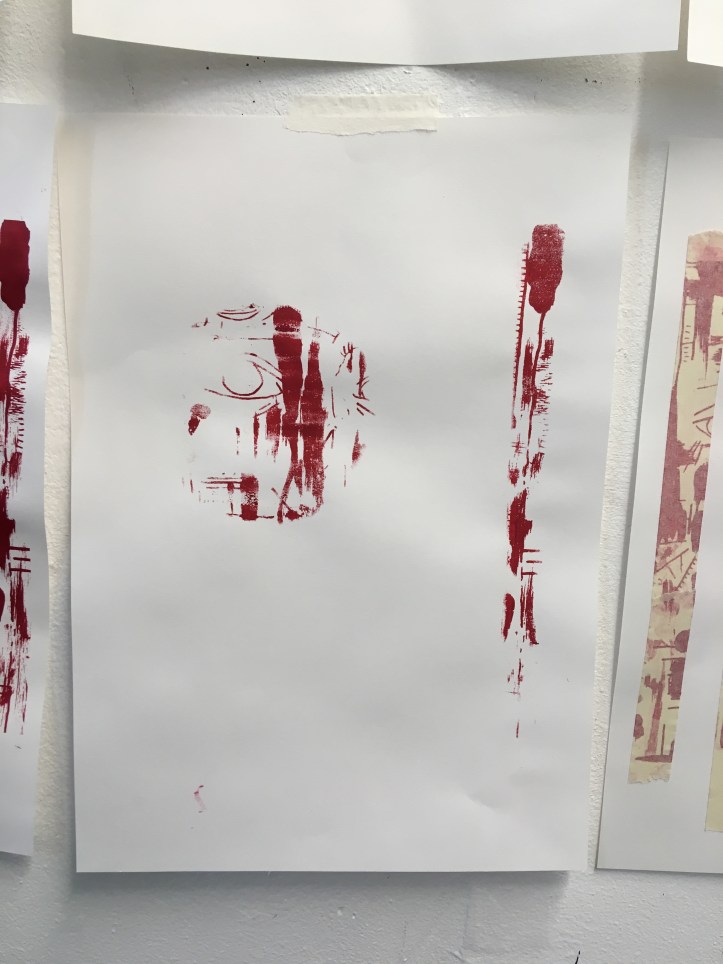
I used framing in the following pieces. This helps to isolate one specific part of my design, highlighting its importance.
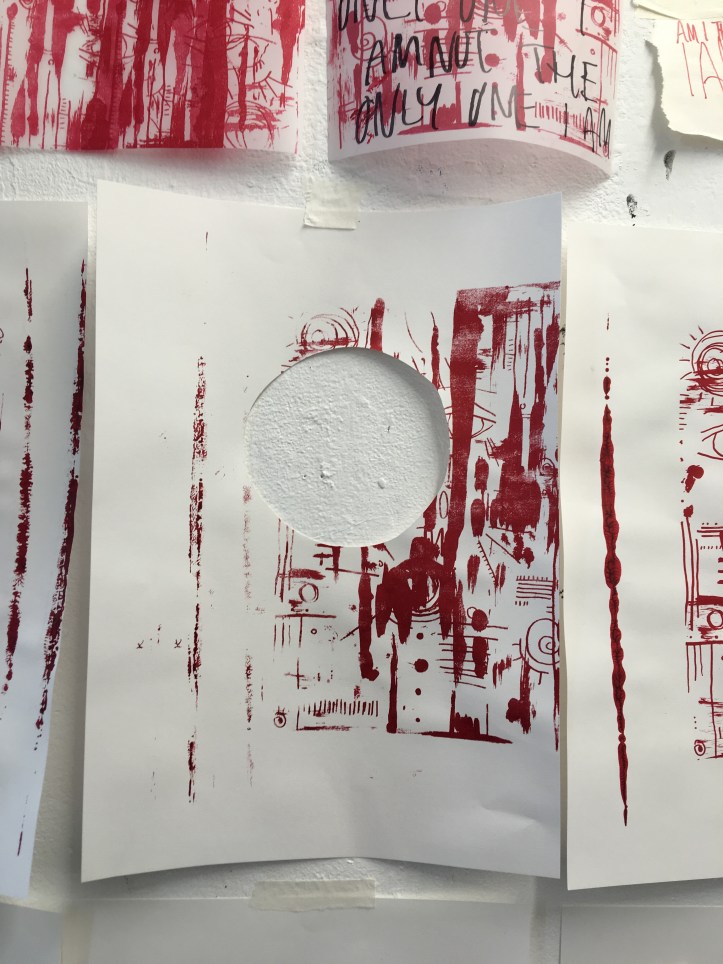
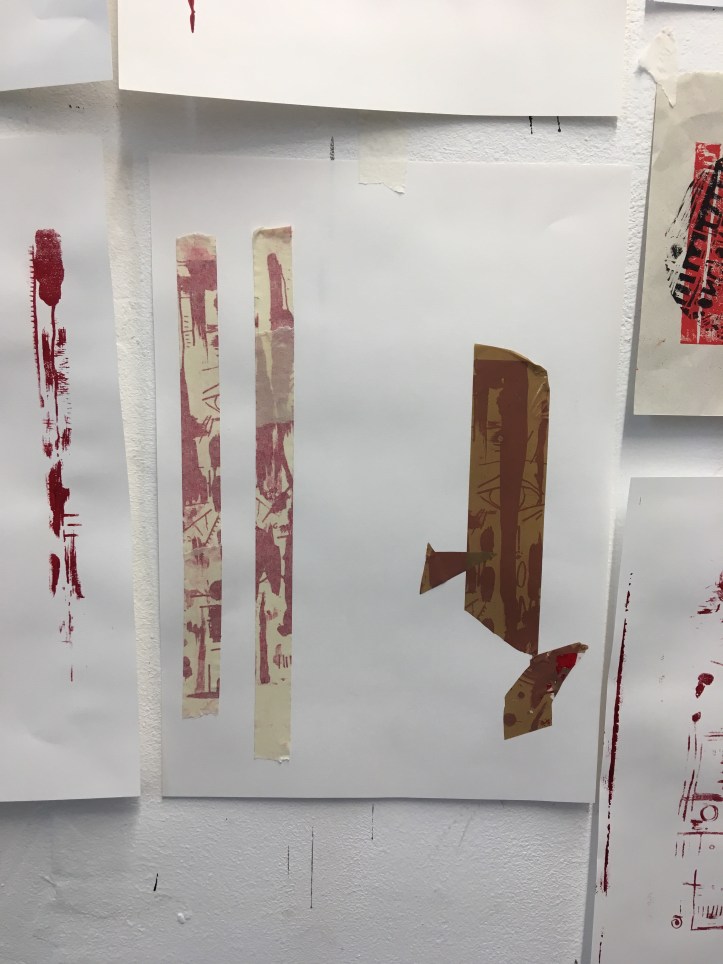
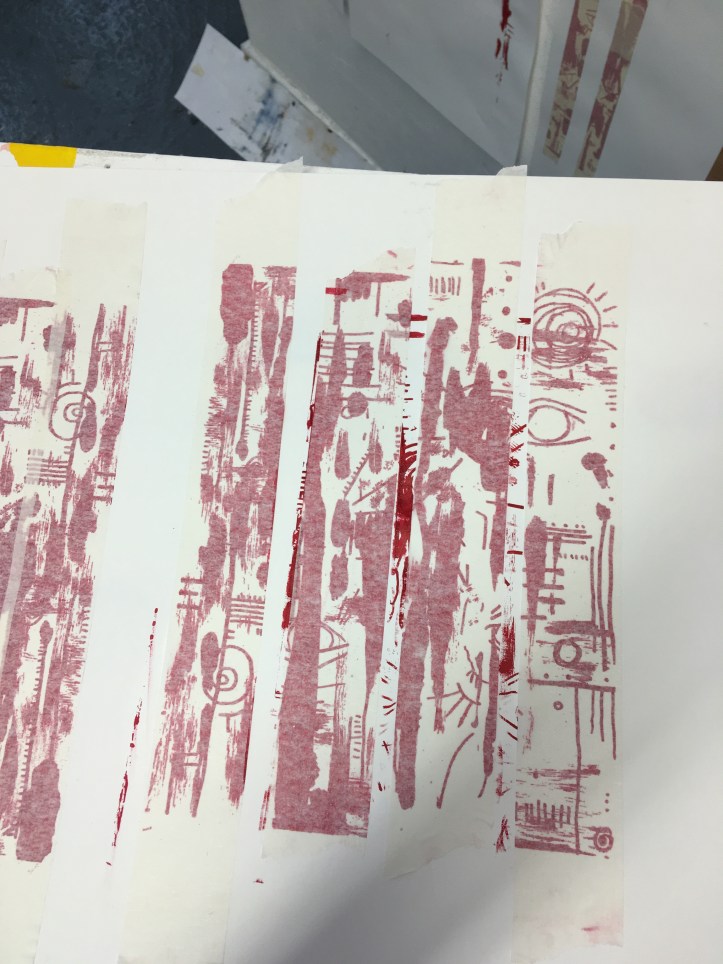
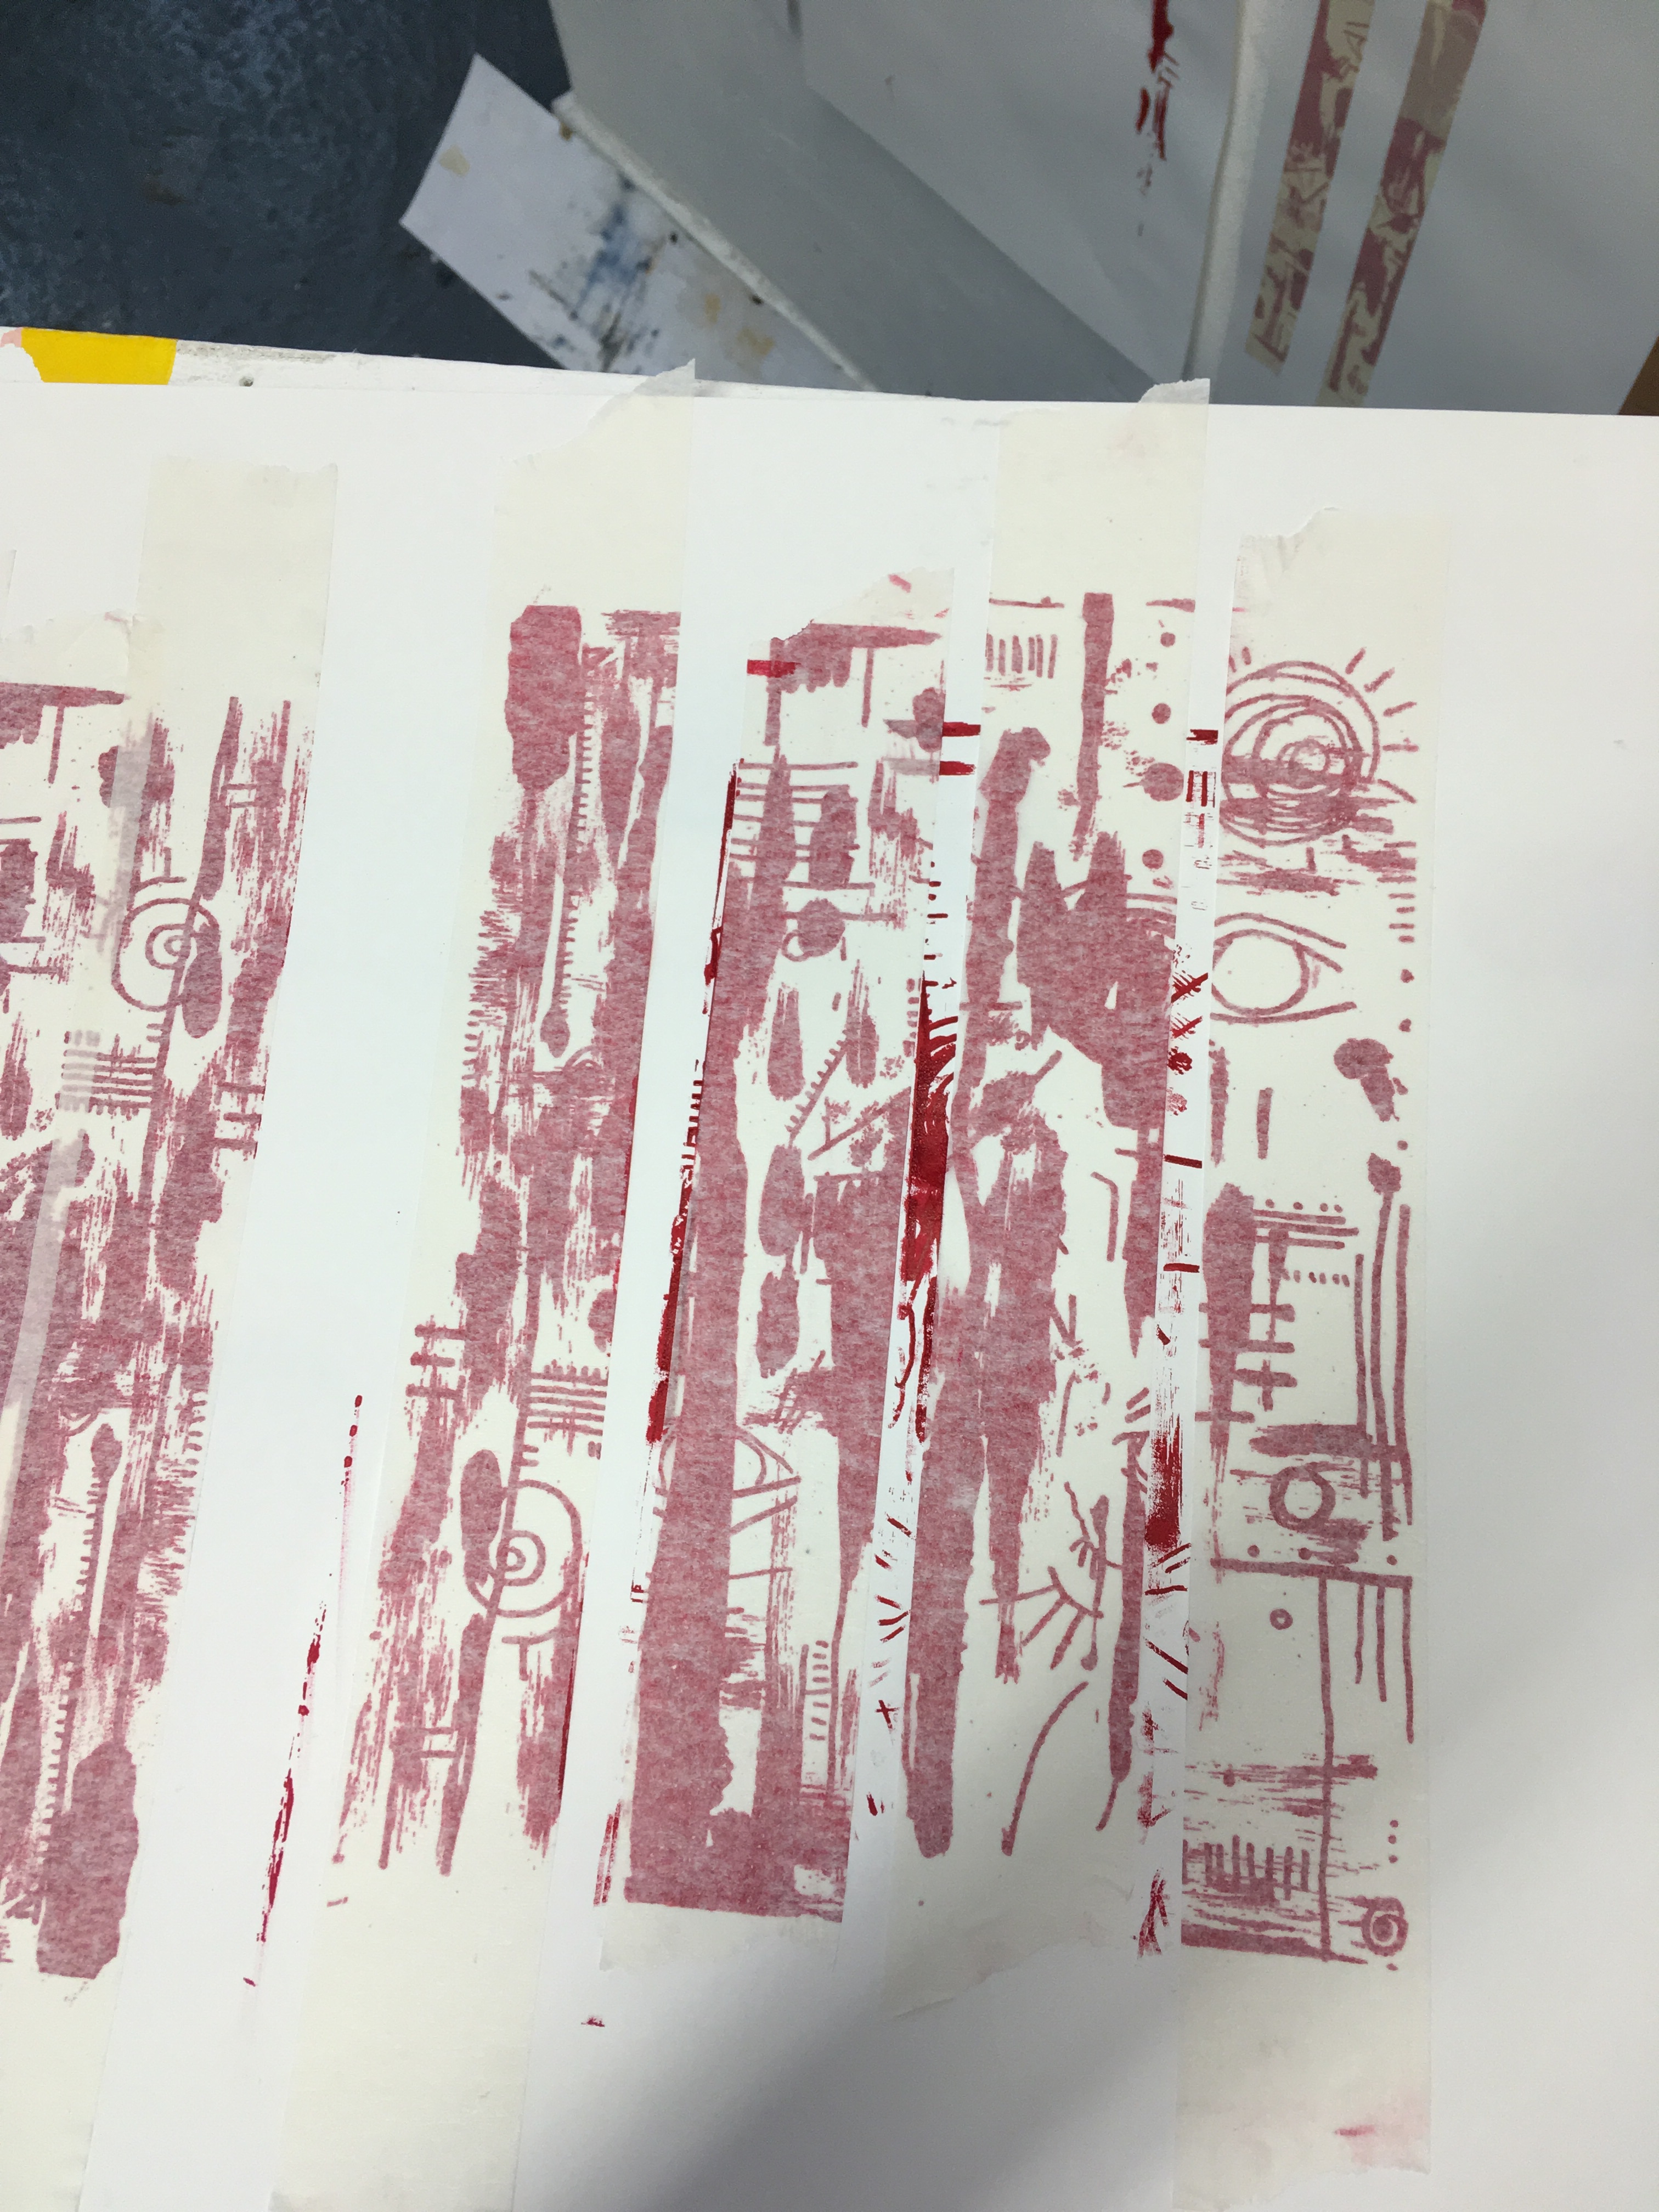
I then started to use masking and parcel tape to block out some of the print. I also saved the tape – which I wanted to experiment with further as I loved the outcome.